
Postage Pop-up Window Card - Pine Cone Version
Posted by Karen Burniston on Dec 5th 2025
For this week's Designer Challenge 100 I posted a video tutorial for making a Postage Pop-up Window Card and mentioned that the technique would translate nicely into other themes.
Here's a serene woodsy Christmas card version:
Because I didn't need the extra height for an assembled snowman, I changed the card size for this version to 5" x 6" when closed. Keeping the height at 6" means I can open up the card and run it through my machine sideways to cut the window, requiring less muscle.
The window "etching" for this card is our Swirls Pattern Plate. It is cut from a lightweight (printer) transparency where I added double-sided adhesive Scor-Tape to the back of the transparency before die cutting. This gives me a sticker swirl pattern where the adhesive creates the "frosted" look.

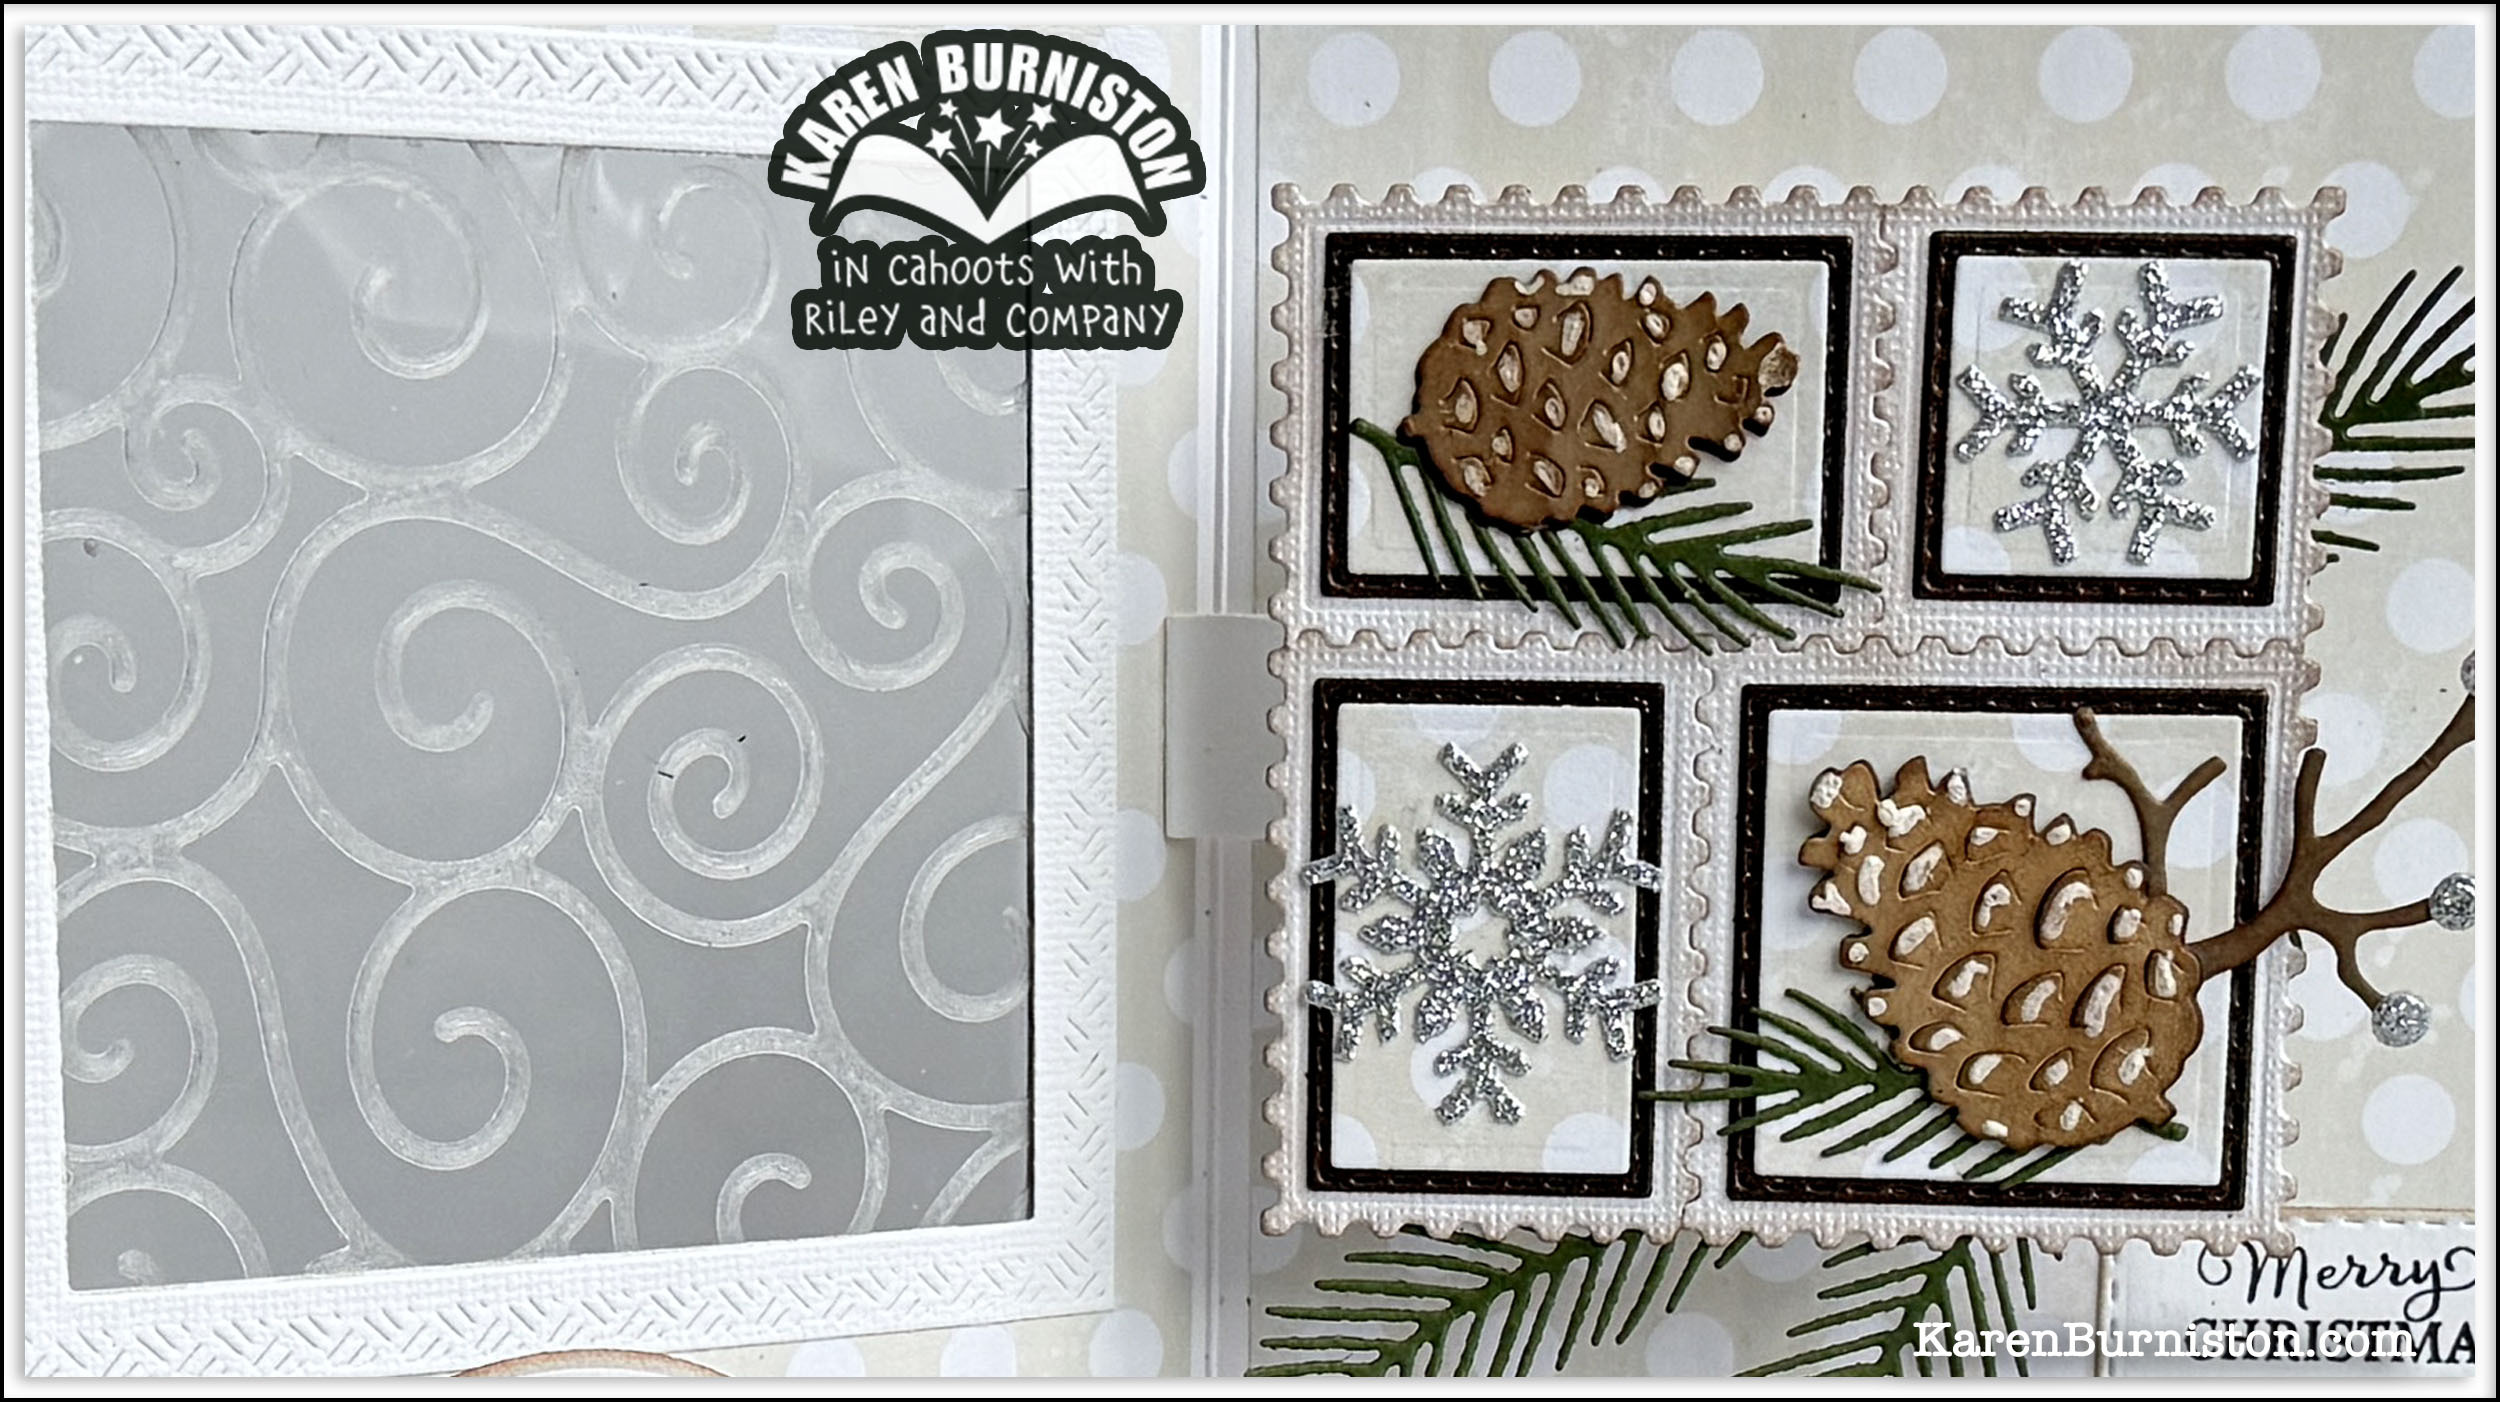
Inside the card the Postage Pop-up is combined with the new Greeting Labels set (the stitched layer) to create the pop-up postage frame. I decorated the panels with our new Pine Cone set and snowflakes from Holiday Charms. The window frames are made using Squares - Crosshatch and greetings came from Quiet Forest and Christmas Wishes clear stamps.
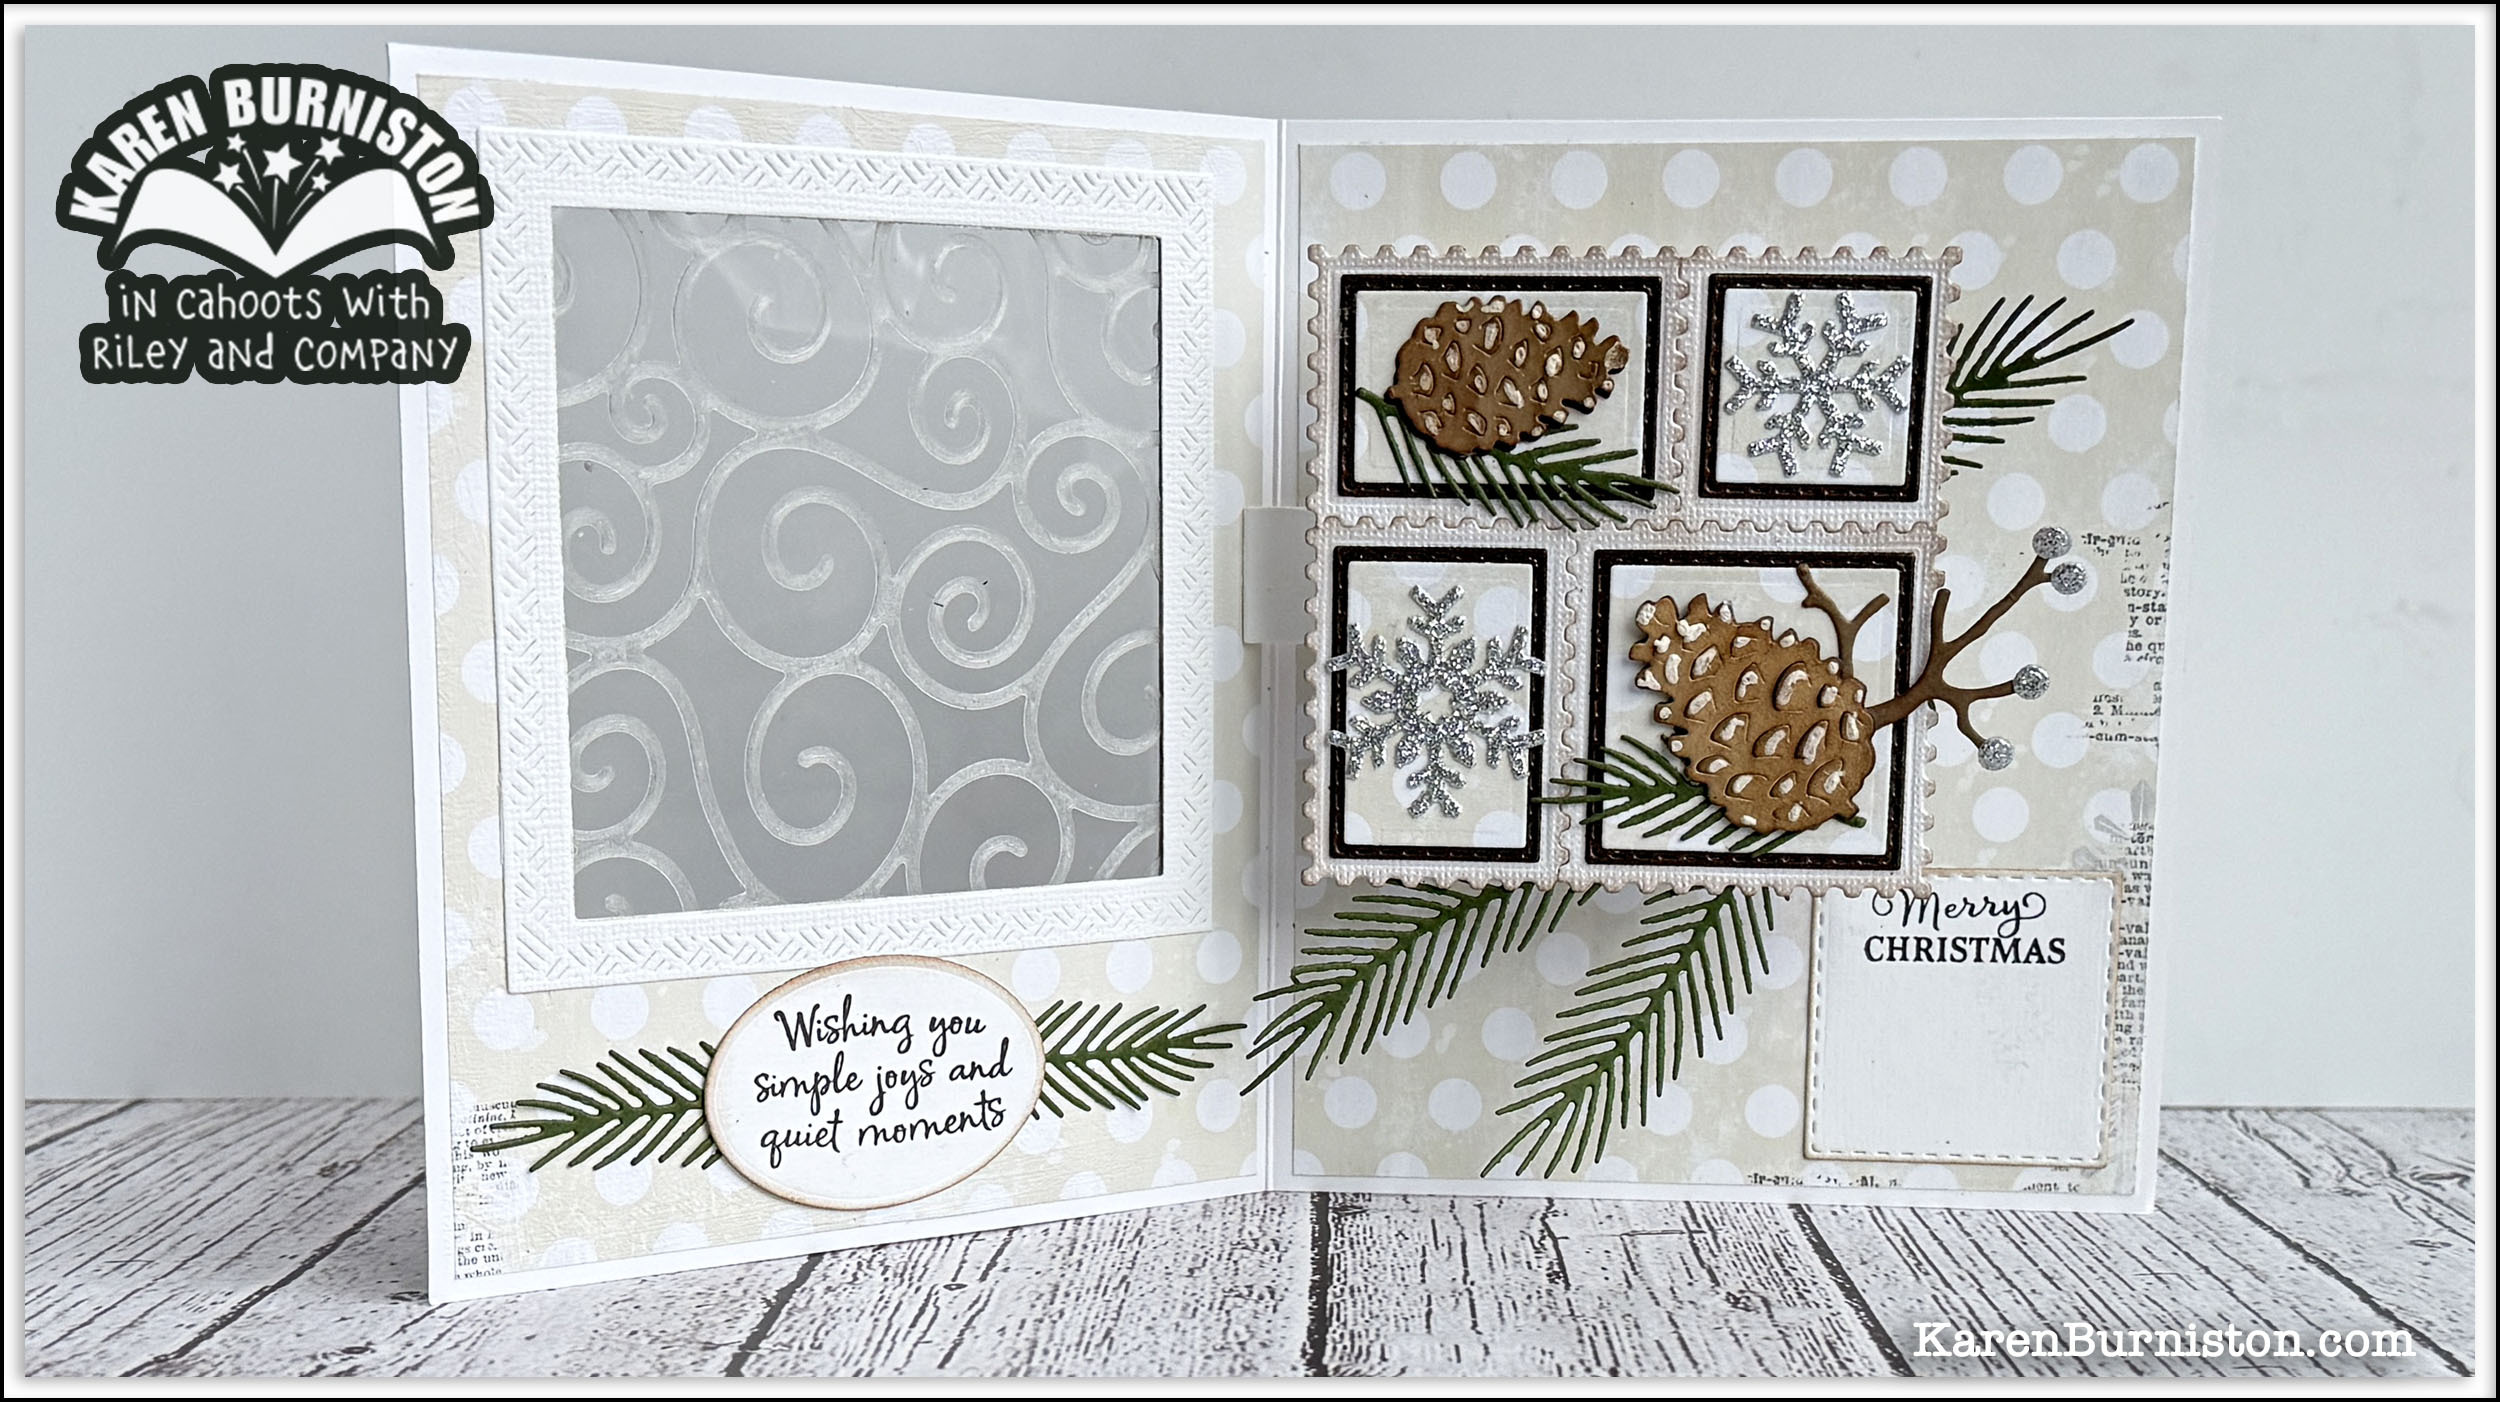
Patterned papers are older designs from my stash (Echo Park snowflakes, Bo Bunny spots). I used a Marvy Snow Marker to add snow to the pine cones, a look I've admired from our talented Design Team.
Learn this technique by watching the Do You Want to Build a Snowman? version:
Learn the assembly of the Pine Cone die here: